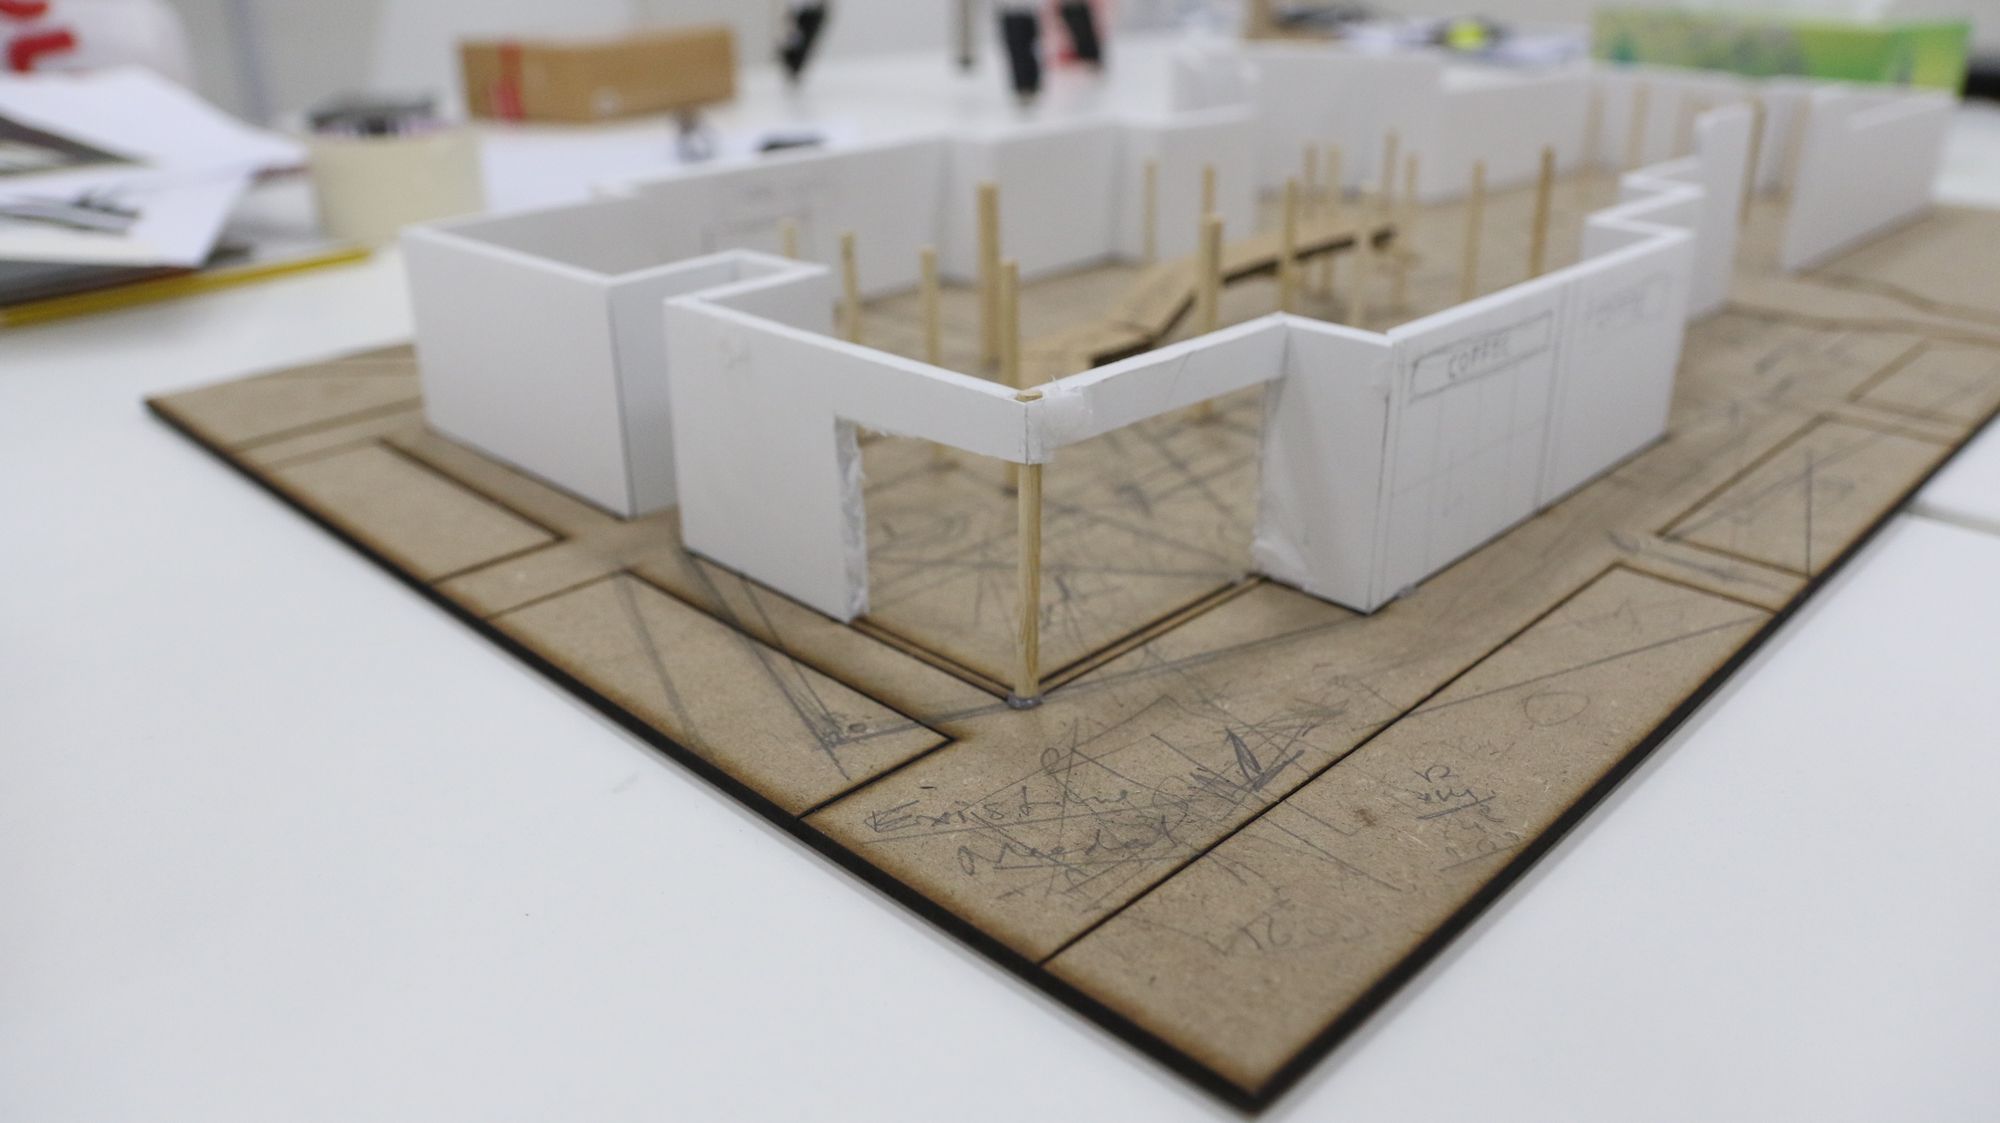
5 Steps to Making Any Architectural Model
Getting started on making any architectural model can be a little overwhelming, especially if you’re using Pinterest as your inspiration. My general go-to is to be messy with model making and ‘sketch model’, it’s low pressure and allows you to think with your hands differently than you can with pencil and paper. However, if you do want to make a ‘proper’ model, here are 5 steps that I use to make my own models.
It’s important to realize that except for Steps 1 and 5 these can go in the order that fits your needs. Start with your limitations.
📌 Example, you only have access to a utility knife and 5mm foam core board (Steps 3+4), therefor you set the scale (Step 2) to 1:40 to ensure that the foam core matches the 20cm CMU wall thickness
1. Purpose of the Model
The first question to answer is: “What is this models purpose?” This will help with every other step and frame your project in an effective way. Some examples of different reasons you would make an architectural model include:
- Showing a new development's relationship to the surrounding area
- Presenting façade options to a client
- Initial programming of a project
- Selling/renting units to prospective buyers in a new development
You can now decide on whether this model has to have elevation details, or just show general massing and orientations of a development, etc.
2. The Scale
Now that you know the model's purpose, it’s easier to decide on a scale. The scale is the relative size of the architectural model to the real-life structure. Massing models tend to have a smaller scale, whereas façade models can go all the way up to 1:1 to show the details that you need to get across. Again, it all depends on the purpose of the model.
3. Materials
After deciding the purpose of the model and the scale you now have to figure out the materials you will use. This will be dictated by the earlier steps and things like budget, availability, and ease of use.
My commonly used materials:
- Foam Core Board (my favorite for quick models)
- MDF
- Cardboard
- Craft Paper
- Acrylic Sheet

4. Tools/Techniques
This goes hand-in-hand with the materials, so if you are going to use MDF, you should have access to tools and techniques such as a circular saw, chisels, sandpaper, and maybe even a CNC (like I occasionally do). A box cutter and some white glue can also net you some great results if you know how to use them on something like foam core.
📌 Pro Tip: Always make sure your blades are sharp, just break off the cutter blade! Change your Exacto tip! Check your saw blades! Don’t skimp! It makes a HUGE difference.
5. Assembly
The last part of making the model is putting together all the pieces. This part becomes easier the more you plan ahead for the other 4 steps. If you're already clear on the materials and techniques you are using then all you need is to put everything into practice.
That’s about all you need to make a model, and yes this is very simplified but generally, these are the steps you need to get through to make any architectural model. As you get more comfortable with a certain set of techniques or materials you will start to come up with your own little innovations and unique twists that’s when it gets really fun. Enjoy the process and don’t sweat perfection (as I often do).
